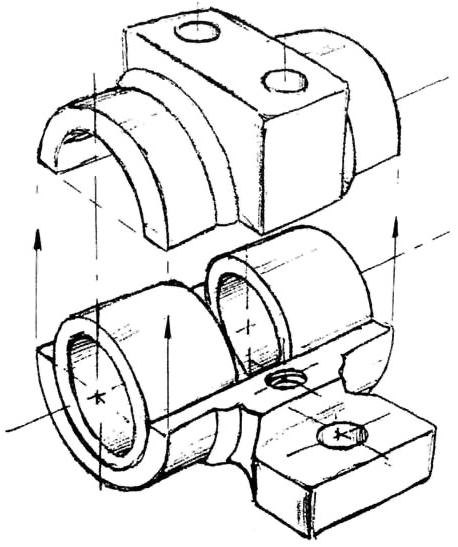
A general drawing is a document thatdetermines the design of the product, assembly unit or part, explains the principle of its operation, as well as the interaction of the main components. This document is being developed at the initial design stage. It is done as a technical proposal or when developing a technical project.
Generally, a general drawing is carried out as simply as possible, the component parts of the product can be displayed on one or more consecutive sheets.

According to the standards of ESKD (Unitedsystem of design documentation) and requirements for design documents, the drawing must have the types, cuts and sections, be executed on a certain scale, contain the basic dimensions of the product and the designations.
Names and designations can be added toA table placed on the same sheet or labeled with a leader-line. On the shelf of the leader line, the position number is indicated, which will then be described in the attached table. In the table placed on the free field of the drawing, the columns are usually filled: "Pos" - where the corresponding position number, "Designation", "Col." - the number of such parts, "Additional indications", for example, data on the material or as follows to process its surface.

The specification helps to read this documentdrawing, made in the form of a table. The names of the parts, the composition and the technical characteristics necessary for reading the document are usually entered in this form on separate sheets of the A-4 format.
Referring to the specification, you can easily navigate in all documents:
in the column "Designation" with the help of a certain designation indicate which particular drawing is described (drawing of the general view of the part or the assembly drawing of the product);
The "Format" column will tell you if the part has the attached drawing of a certain format A-1, A-2, A-3 or A-4, and if the column says "CU", then this is a standard part and does not have a drawing at all;
The column "Pos." indicates the number of the described part position in the drawing;
The "Name" column gives a complete idea of the name of a particular part or article, the material used and the "Documentation" available;
column "Col." will indicate how much it is necessary to execute according to the drawing of parts or products, to select standard elements to create the entire assembly unit shown in the drawing.

The specification for the drawing is carried out for eachassembly unit, is filled from the top down, and the sections are arranged in a certain sequence, only according to certain GOSTs. Depending on the composition of the specified product, some sections may be completely blank.
From the accuracy of the drawing and the correctnessThe completion of the specification depends on the final result of the project. The drawing should be clear and easy to read. Therefore, such strict requirements are imposed on him.


