


Сложно представить себе жизнь без компьютера в modern world. These small devices can significantly ease part of the routine work, and sometimes do it yourself. With it, we go online, make purchases, watch movies, listen to music, communicate with friends, create and edit documents and much more. In addition to using standard computer functions, we can additionally connect various equipment to it. These can be headphones, joysticks, webcams, scanners and, of course, printers. In general, regardless of the operating system, connecting a new device to a computer is quite simple. In this way, the "Explorer" and "Add Printer Wizard" will help. But no matter how high-quality and reliable the system is, in the course of work there are always minor problems and unexpected errors occur, especially when it comes to an inexperienced user. For example, you might see the message "Could not open Add Printer Wizard. Local print subsystem is not running. " How to connect the printer correctly and what to do if a similar message appears, we will explain in this article.
Итак, перед вами новое устройство, которое вам не Eager to connect to the PC. In order to avoid subsequent problems, I would like to note that it is important to check in advance the serviceability of the equipment itself. When problems occur, users most often begin to look for a problem in the computer system, not paying attention to the fact that the printer itself or the wires for connecting it may be out of order. Then take care of the compatibility of the device and the computer. The latest models of printers are perfectly adapted for use on almost all types of modern PCs; however, if one of the devices is outdated, incidents can also occur.

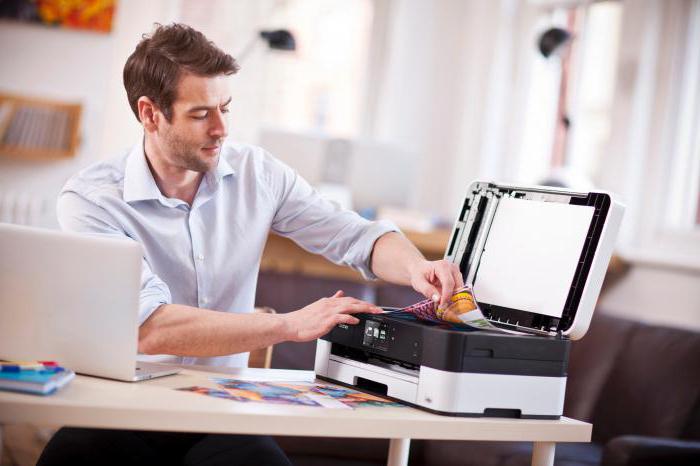
Now connect the printer throughUSB output and plug it into a power outlet. Then press the power button on the printer and go to the "Start" and look for there "Devices and Printers." At the top you will see a small menu in which you should select "Printer Setup". Next, select the type of device to be connected, let it be "Local printer". In the next step, click on "Use current port" - this should be a USB port. The next step is to choose drivers. Take this very seriously, because it is the basis for the proper operation of any connected external equipment. As a rule, the drivers for the new printer are not yet on the computer, they must be removed from the driver disk, it is attached to the new printer. If for some reason you didn’t have the disc (for example, you purchased used equipment), that’s okay, you can download them from the Internet, preferably from the official website of the printer’s manufacturer. Then enter the name of the printer, what it will be - it does not play a huge role for the installation. If you are using one printer, check the box next to “Set printer as default”, wait until the end of the installation - and you can test the operation of new hardware for Windows 7. The “Add Printer Wizard” has completed its work. But sometimes users encounter further problems with the “master”, for example, see an error message.
Most often this problem occurs whenconnecting new equipment. When a user enters "Devices and Printers" and clicks the "Add Printer" button, he sees the error: "Could not open Add Printer Wizard. Restart the system or restart the computer." As indicated in the message, they try to solve the problem by rebooting, but, as a rule, nothing happens and the error reappears. There are several ways to fix this problem. We will tell about some of them.

Click at the bottom of the message "OK", and it closesautomatically. Then you need to go to the "Start" menu, then "Control Panel", and finally - "Programs and Features." On the right side of the screen, you will see "Turn Windows features on or off." Open this menu. In the list provided, you must find the "Print and Document Service." Click on the "+" - and see a new list. Check the box next to each component and click "OK." After the system makes changes to all functions, the error message "Could not open the Add Printer Wizard" error message should no longer disturb you. If nothing has changed, try another way.

In "Services" ("My Computer" - "Management")note the "Print Manager", it should not be stopped. If not, it will need to start and restart the computer. If still nothing has changed - the case may be in the latest installed system updates.
Error "Could not open Add Wizard"printers" may appear due to incorrectly installed updates. Try to roll back (restore the system) until the updates have not taken effect yet. The problem can be solved, but what to do with the updates, because they are still needed? Install them manually If you download them one by one, you can easily find out which of them was the cause of the problem. Then you can hide it in the Update Center and it will not disturb you in the future.

Such an error may occur.The reason for this may be clogging of the folder (registry) spool. This is a small directory that is responsible for the print queue. It can become "spammed" if you often install different printers, download new drivers and similar software. In the end, it becomes too much to continue the normal operation of the new printer. The registry needs to be cleaned, this is done in Windows 7 safe mode. The "Add Printer Wizard" needs to be run again. After that, install all the necessary components again.
Now you know how to fix the error "Could not open Add Printer Wizard". More for you it will not be a problem.


