


Installation profiles under the siding - prettyresponsible moment, because the panels will repeat their outline. If the installation is done incorrectly, then the siding will not lie in the same plane, it will start to warp.

The installation of a metal profile for siding is performed in three stages, each of which is very important.
Surface preparation - At this stage, the removal of all unnecessary and unnecessary is done and a place is prepared for the work.
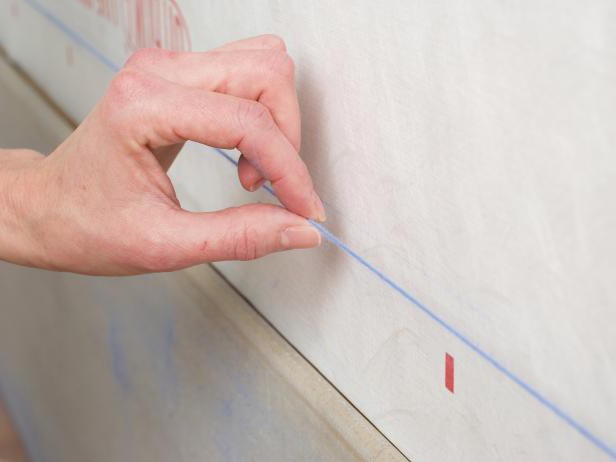
Surface marking - installation of the profile for siding mustin the same plane. Correctly executed markings will in many respects determine the correctness of the installation. If it is done incorrectly, the surface will get an irregular geometric shape.
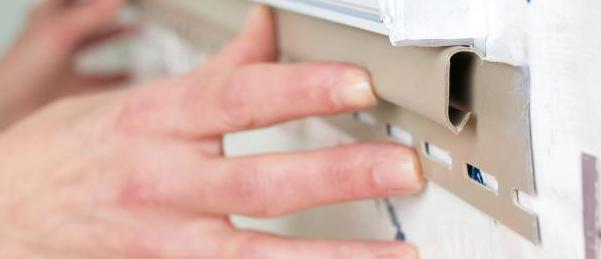
Attachment The profile for siding must be done correctly. The finished structure will have a significant weight and therefore the attachment must be reliable and rigid.
Installing the profile under your own sidingbegins with the choice of material. For the manufacture of a supporting frame structure, as a rule, a metal profile with a U-shaped section having a galvanized coating is used. Its size:
A profile strip of the same kind is also used for the construction of plasterboard structures for interior decoration.
Profile for the siding of smaller sizes (for example, 50x50) can not be used, because there is no special flange on its edge intended for stiffening the bar.
Setting the profile under the siding on the prepared surface is the key to quality work. The instruction is as follows.
The fixing to the outer wall of the crate is done withaid anchors or dowels. Their length is selected based on the weight of the siding and profile, and also depending on the thickness and type of material from which the walls are made.
It is important to remember that if the house is wooden, you canuse only self-tapping screws, but to the brick wall the fastening is done with the help of dowels. To do this, drill in the wall holes of a suitable diameter and then slaughter in them dowels.
Now we expose the profile under the siding in height in the desired plane. To do this, take the thickness of the insulation and add to it at least 1 cm.
It is important to remember that if a heater is installed, it should not be deformed by attached panels, as it will lose its qualities. Therefore, a gap of about 40 cm is made.
On a diagonal of a plane we pull a fishing line and we mark, on what height the profile will be fixed. With the help of gaskets, it can be regulated.
The installation of the profile under the siding on the walls is donetogether with the crate, the step size of which depends on the mass of the finishing material. The heavier the siding, the less the distance between the bars of the crate.

In the instructions that attach to the siding, recommendations for the step of the crate for this material are often indicated.
As a rule, the distance between the bars is40 cm, and for vinyl siding - 60 cm. If in this region there is often a gusty strong wind, then the step should be slightly reduced.
The metal profile under the siding is fixed.Depending on which direction of the fastenings of the lining material, the attachment is made horizontally or vertically. When the panels are installed horizontally, the profile must be located in an upright position. Horizontal lathing is necessary for vertical installation.
Installation of the profile under the siding on the front part is done a little differently.

This method of fastening using jumpers is considered the most reliable when installing a profile frame.
This fastening design is used when the length of the suspension is not sufficient to eliminate existing unevenness on the wall.
In addition, the profile 27x28 mm, the cost of which is below the standard, is used for other purposes. It is used as an initial lath for the installation of a vertical crate.
The installation of the profile for siding at the corners is performed as follows.
The inner and outer corners are attached indented 5mm from the top edge of the wall and below the starting plate by 20 mm. If the house has a height greater than the length of one corner, they should be docked. For this it is necessary to cut off the 25 mm of mounting surface at the junction from the bottom corner, then overlap the upper corner to the lower corner (overlap should be 20 mm) and nail them. If the installation of internal corners is performed on the pediment, it is necessary to leave gaps between the end edge of the corners and the slats adjacent to them.

Siding is used not only for the facades of houses, but also for interior decoration. The way of working from the outside and inside is noticeably different.
If installing the profile under the siding on the ceilingwill be done by one's own hands, then you need to become familiar with the correctness of this work. The technology of fastening the siding is made in several stages.
Work starts from the ceiling - the distance at which the material will be installed is measured. It should be noted that it depends on such parameters:
After the distance is determined,using a tape measure and a pencil, you should make marks on the walls, focusing on which you need to draw a line around the perimeter of the room. Later on, the siding will be fixed with the help of the bars.
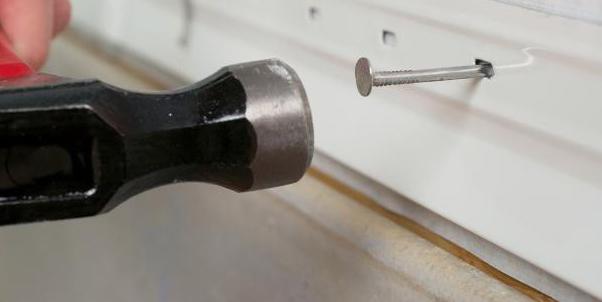
Next, the profile is installed under the siding, for which nails are used (self-tapping screws).
If you plan to install ceiling luminaires, you should bring electrical wiring to the ceiling in advance.
Using these instructions and guided by the advice of professionals, it is possible to choose and properly install a metal profile even a person who has no experience in such construction. The cost of the material is low, but the work will be done qualitatively, only if the calculation is correctly performed. After all, this material will also have waste, which should be taken into account.


