


This article will talk about howprotect a cell in Excel from changes. Fortunately, this option is present in this table editor. And you can easily save all the data you entered from someone else's intervention. Also, cell protection is a good way to escape from yourself. Having protected the cells into which the formulas have been entered, you carelessly do not delete them.

Now the first method will be provided, how to protect cells in Excel from changes. Of course, it differs little from the second, which will be told later, but it can not be missed.
So, in order to secure the table cells from patches, you need to do the following:
Выделить всю таблицу.This is most easily done by clicking on a special button, which is located at the intersection of the vertical (row numbering) and the horizontal (column designation). However, you can also use the hotkeys by pressing CTRL + A.
Click the right mouse button (RMB).
In the menu, select the item "Format cells".
In the window that appears, go to the tab "Protection".
Uncheck the item "Protected cell".
Click OK.
So, we just removed the ability to protect all the cells in the table. This is necessary in order to designate only a range or a single cell. For this you need:
Select the necessary cells using normal stretching with the left mouse button pressed (LMB).
Click RMB.
In the menu again, select the "Format cells".
Go to the "Defense".
Put a check mark next to the "Protected cell".
Click on OK.
We told the program exactly which cells wewant to protect against changes. But it is not enough for them to become protected. To accomplish this goal you need to enable sheet protection in Excel. For this:
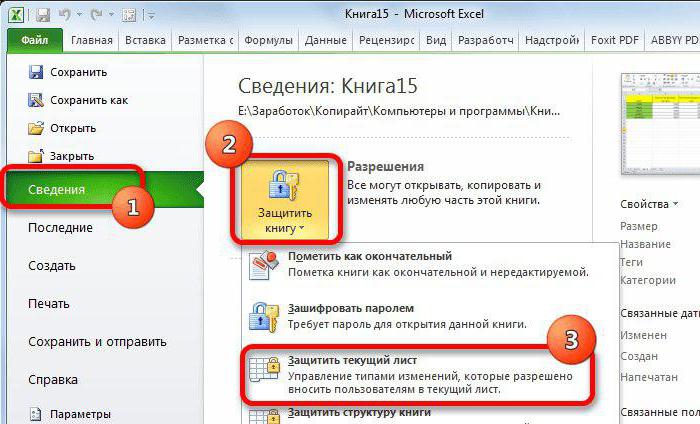
Click on the "File" tab.
In the menu, go to "Details".
Click on the "Protect Book" icon.
In the menu, select Protect Current Sheet.
A window will appear in which you want to perform the setting. Follow the guide:
In no case do not uncheck the item "Protect the sheet and the contents of protected cells."
In the window located a little lower, you can make more flexible settings, but by default it is set so that no one can modify the parameters.
Enter the password in the appropriate field. It can be of any length, but remember that the harder and longer it is, the more reliable it is.
Click OK.
After the done manipulations, you will be asked to re-enter the password for all changes to take effect. Now you know the first way to protect a cell in Excel from changes.
The second way to protect a cell in Excel from changes, as mentioned above, is not much different from the first. Here are the detailed instructions.
Like last time, remove the cell protection from the entire table and place it in the desired area.
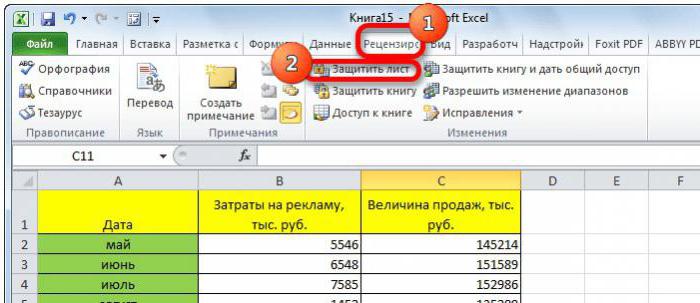
Go to "Reviewing".
Click on the "Protect Sheet" button that is in the "Changes" tool group.
After that, a familiar window will appear in whichneed to set security options. Similarly, enter the password, select the required options, put a check mark next to "Protect the sheet and the contents of protected cells" and click OK.


